# @builder\.io/angular 中文文档
规范地址:https://npmcn.com/package/%40builder.io/angular/
版本:5\.0\.2
npm 元数据更新时间:2026-09-09T09:16:12.734Z
中文译文更新时间:2026-11-08T19:04:07.836Z
软件包许可:MIT
本文由上游 README 翻译,可能存在偏差,请结合原文核对 API、命令与配置。版权与许可归原作者所有。
原始 npm 页面:https://www.npmjs.com/package/%40builder.io/angular
原文对照:https://npmcn.com/package/%40builder.io/angular/?lang=original
项目主页:https://github.com/BuilderIO/builder#readme
源码仓库:https://github.com/BuilderIO/builder
## 关键信息(来自 npm 元数据)
- 包体积(解压后):310 kB,34 个文件
- 模块格式:ESM + CJS
- TypeScript 类型:包内自带
- 运行依赖:4 个
- peer 依赖:rxjs \>= 2,zone\.js 0\.14\.x
- 首次发布:2018-02-22T19:41:49.325Z
- 最新版本发布:2025-02-13T18:06:46.590Z
- 近 30 天下载量:18866(2026-10-09 至 2026-11-07,npm 官方下载统计)
- 已发布版本数:755(近 12 个月 0 个)
## 中文简介
使用"构建器"Angular SDK来用"构建器"来使用"构建器". 您可以从浏览Builder的正式文件开始, 或者从右侧挖掘到这个目录中的代码 。 官方文件提供了更明确的指示,而这一R
## 安装
```sh
npm install @builder.io/angular
```
也可以使用:`pnpm add @builder.io/angular`、`yarn add @builder.io/angular`、`bun add @builder.io/angular`
## README
# 构建器 Angular SDK
使用"构建器"Angular SDK来用"构建器"来使用"构建器". 您可以从浏览Builder的正式文件开始, 或者从右侧挖掘到这个目录中的代码 。 官方文档提供了更明确的指令,而这个README则共享了更通用的指针.
## 备选方案1(对于新到Angular的文件):使用构建器正式文件
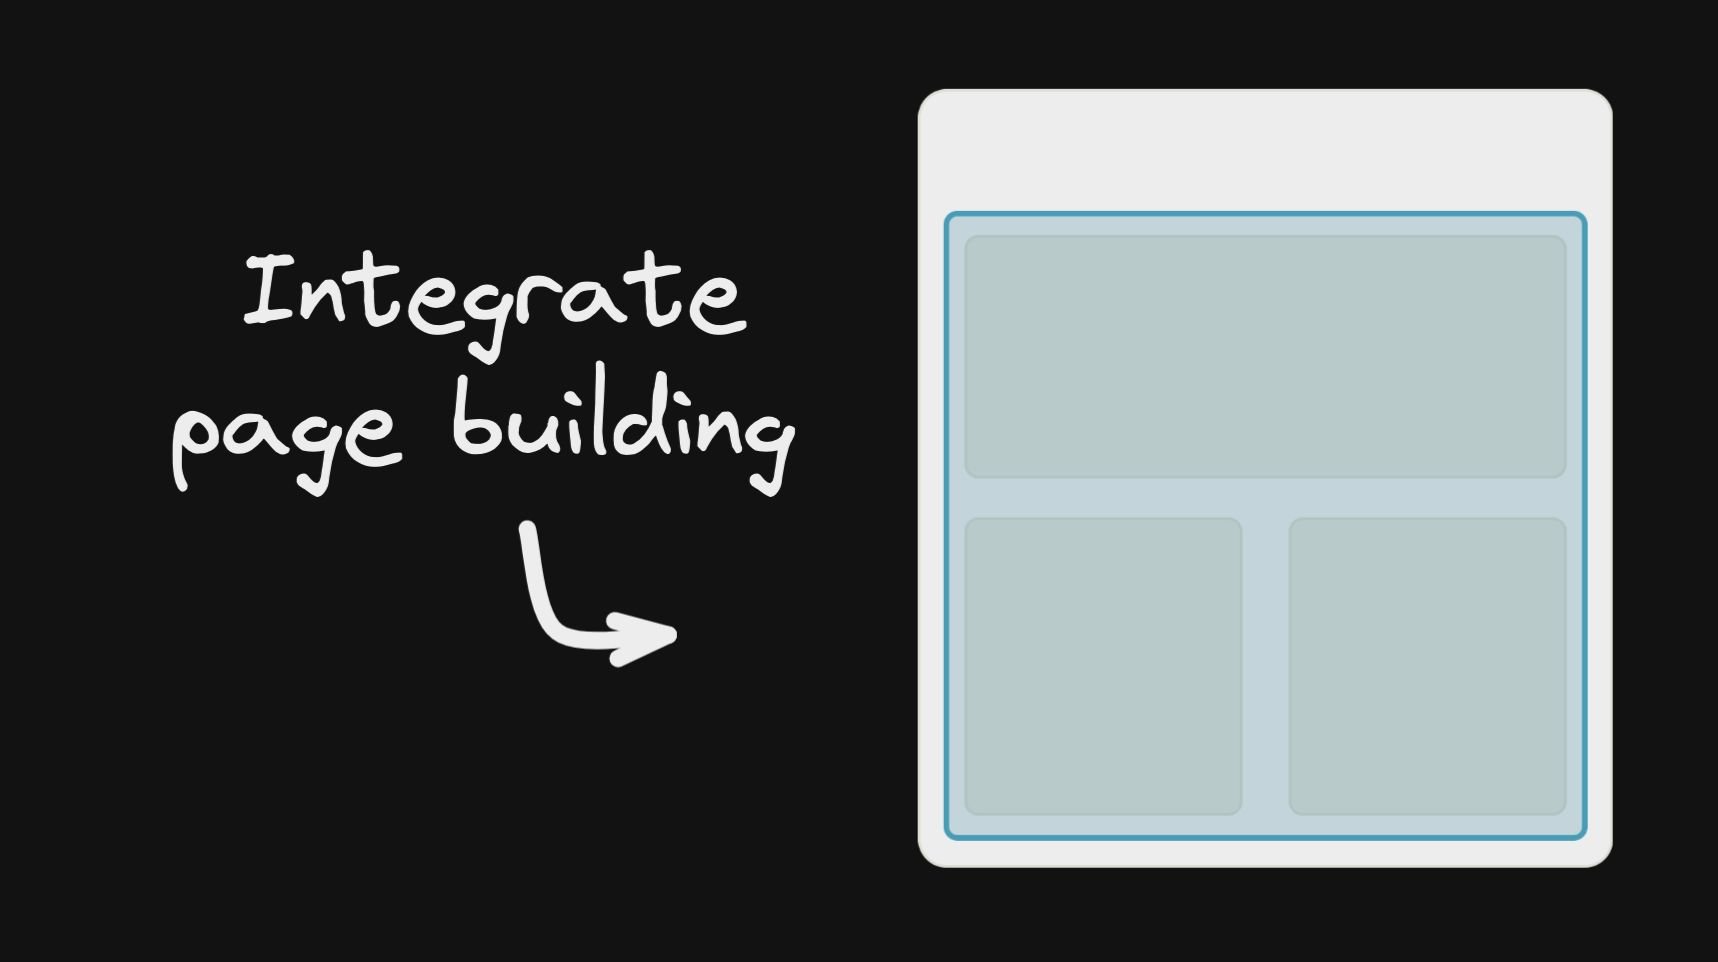
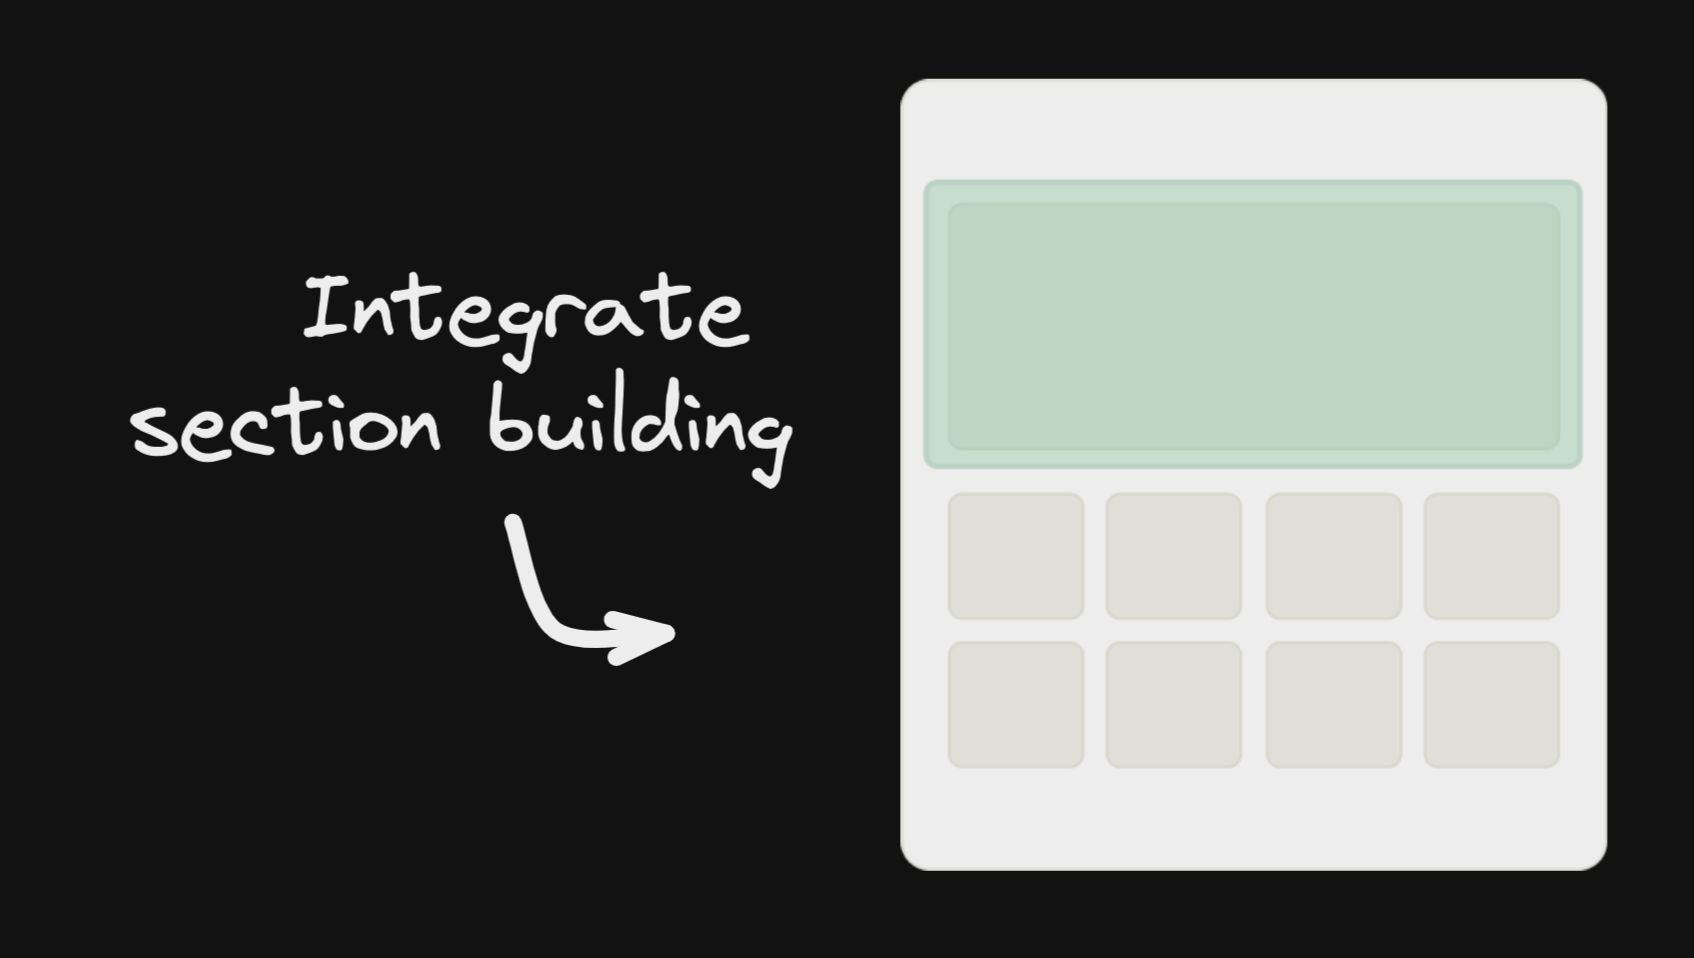
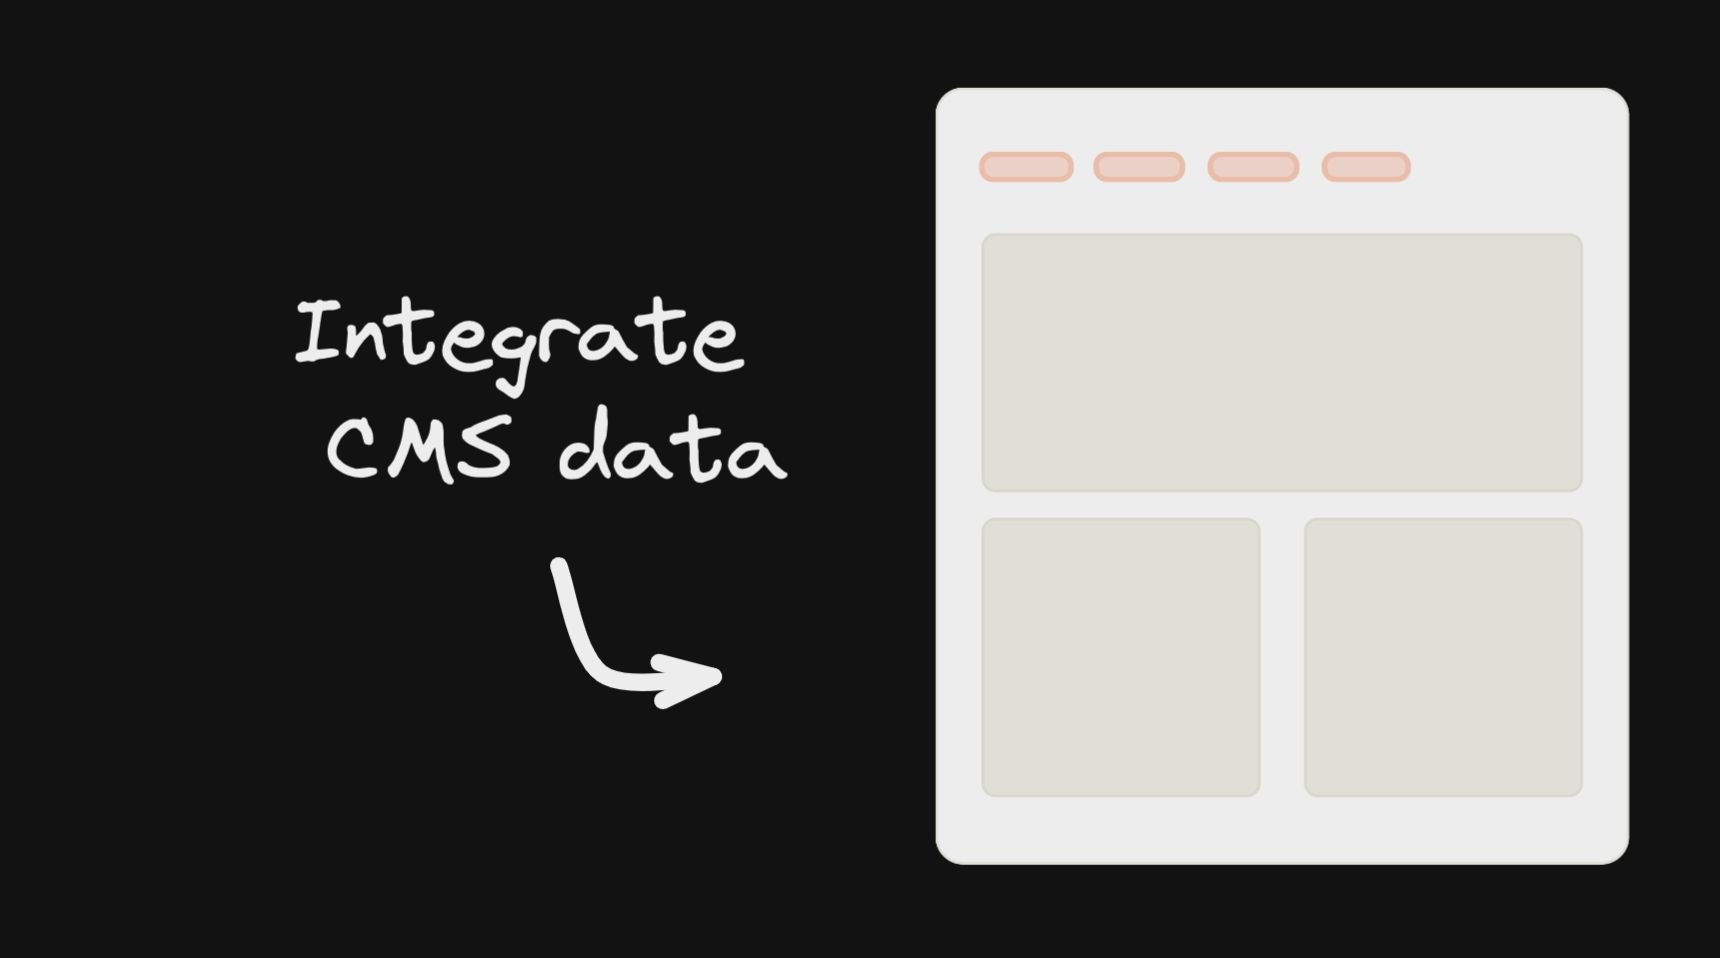
关于分步骤的指南,见Builder官方的Angular指示 [整合页面](https://www.builder.io/c/docs/developers) 文档。 虽然我们建议从Page Building开始,但您也可以整合各节和数据:
## 备选案文2(Angular aficionado):使用以下简要说明
如果你更喜欢直接潜入代码, 呆在这里一些指针 使用构建器 Angular SDK.
### 使用量
安装 :
```
npm install @builder.io/angular
npm install @angular/elements
```
添加模块 :
```ts
import { BuilderModule } from '@builder.io/angular';
@NgModule({
...
imports: [ BuilderModule.forRoot('YOUR_API_KEY') ],
...
})
export class MyAppModule { }
```
> 说明:你可以 `YOUR_API_KEY` 从 [https://builder.io/account/space 页面存档备份,存于互联网档案馆](https://builder.io/account/space)。 。 。 .
然后在您喜欢的地方添加组件:
```html
```
然后,更新您的模型的预览 URL , 以允许像 [本指南](https://www.builder.io/c/docs/guides/preview-url)说完了!
接下来,关于更先进的使用,见下文信息,以及 [对模型的介绍](https://www.builder.io/c/docs/models-intro) 用于创建自定义模型, 财务报告和审定财务报表 [搜索优化](https://www.builder.io/c/docs/seo) 用于优化您的内容。 (用于Angular 使用来自 `load` 输出以获取自定义字段数据。 )
## 自定义代码中的登陆页
将您的 404 组件替换为下面的类似内容, 以便于在 Builder 中创建新页面 :
```html
```
## 使用自定义字段
[自定义字段](https://www.builder.io/c/docs/custom-fields) 在使用定制时是一个强大的特性 [模型](https://www.builder.io/c/docs/models-intro),用于各种定制,例如: [SEO 优化](https://www.builder.io/c/docs/seo) 您的内容.
```html
```
```ts
contentLoaded(data) {
// Data object (via the output $event) includes your custom fields, e.g. if you have a custom field named
// "title"
document.title = data.data.title
}
```
## 现有页面中的构建部分
使用区段模型,您可以在已有的页面中/周围使用 Builder.io 组件(aka,它不需要控制整个页面). 参见关于为此制作自定义模型的信息 [这里](https://www.builder.io/c/docs/guides/getting-started-with-models)
```html
Loading..
```
然后可以使用 [查询](https://www.builder.io/c/docs/custom-fields) 财务报告和审定财务报表 [目标](https://www.builder.io/c/docs/guides/targeting-and-scheduling) 以自定义内容加载到何处
## 在构建器页面中使用您的角构件
您可以拖放在构建器编辑器中添加角元件, 并使用下面这样的最小标记 :
```ts
import { BuilderBlock } from '@builder.io/angular';
import { Component, Input } from '@angular/core';
@BuilderBlock({
tag: 'custom-thing',
name: 'Custom thing',
inputs: [
{
name: 'name',
type: 'string',
},
],
})
@Component({
selector: 'custom-thing',
template: 'Hello: {{name}}',
})
export class CustomThing {
@Input()
name = '';
}
```
注意自定义角元件使用 [角元素](https://angular.io/guide/elements) 并只在浏览器中渲染(没有服务器侧渲染).
如果您需要服务器侧渲染, 请考虑使用 [符号](https://www.builder.io/c/docs/symbols)
见 [这里](https://builder.io/c/docs/custom-react-components#input-type-examples) 关于可用输入类型的详细信息.
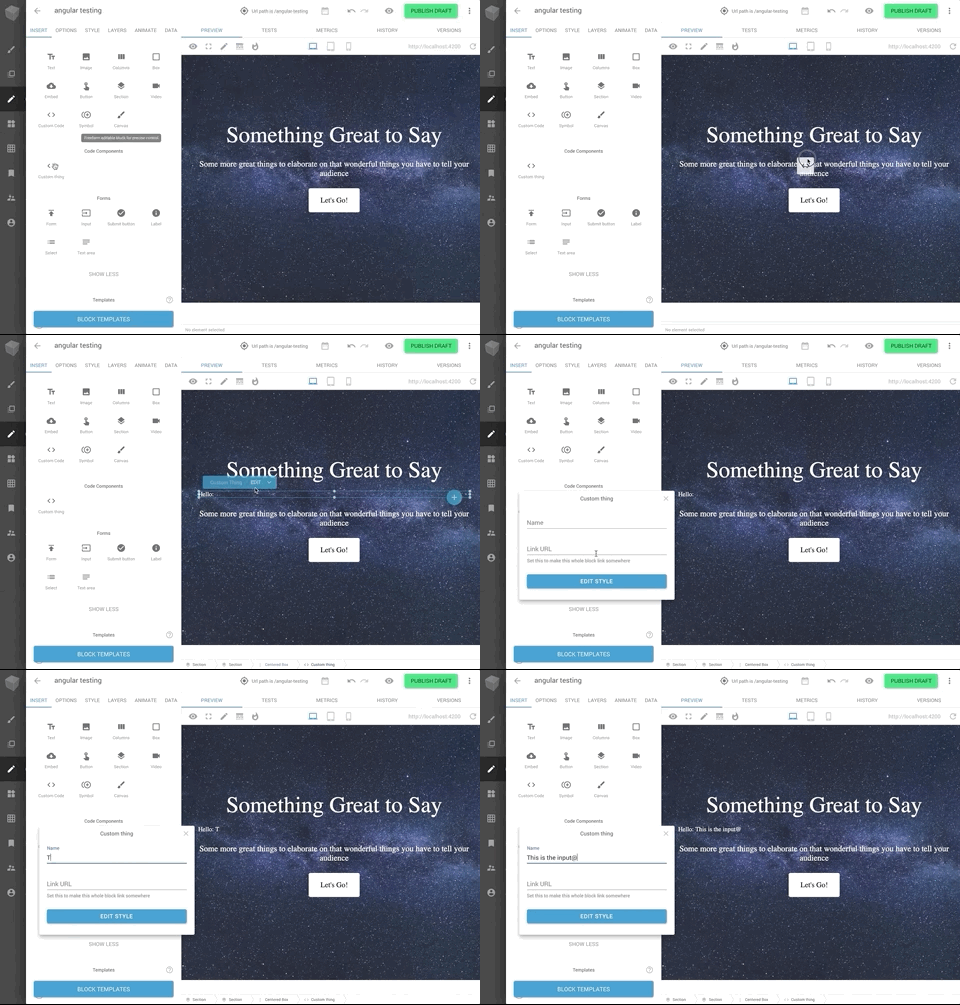
### 自定义组件中的可编辑区域
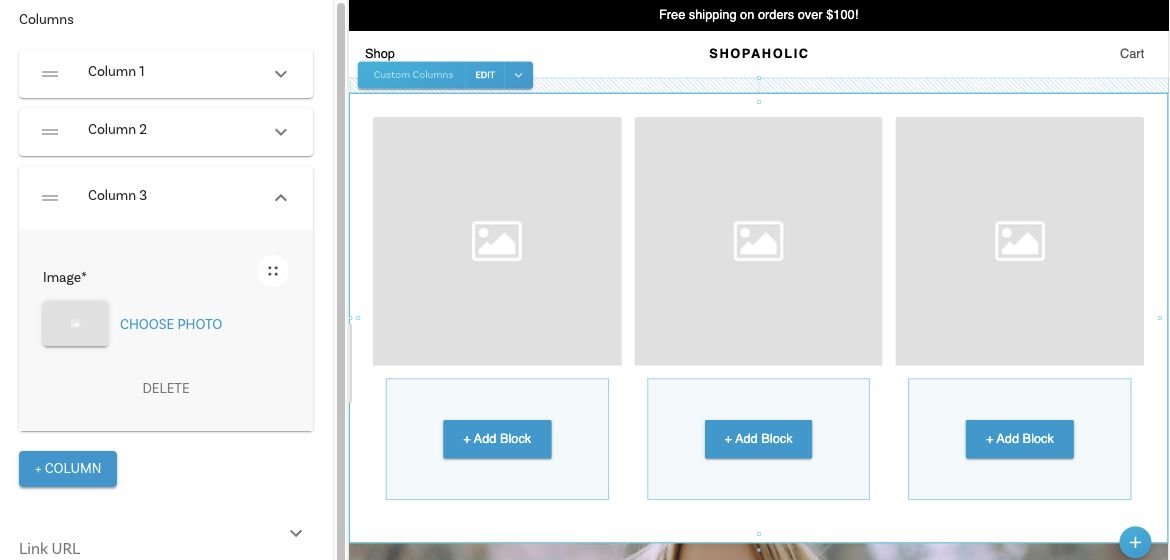
- 为您每个可编辑的类别区块注册输入 `blocks`
- 使用 `builder-blocks-outlet` 组件来制作带有组件模板的块.
```ts
@Component({
selector: 'custom-thing',
template: `
Section A
Section B
`,
})
export class CustomThing implements OnChanges {
@Input()
name = '';
@Input()
builderBlock = null;
@Input()
builderState = null;
@Input()
sectionA = null;
@Input()
sectionB = null;
}
BuilderBlock({
tag: 'custom-thing',
name: 'Custom thing',
canHaveChildren: true,
inputs: [
{
name: 'name',
type: 'string',
},
{
name: 'sectionA',
type: 'blocks',
hideFromUI: true,
helperText: 'This is an editable region where you can drag and drop blocks.',
defaultValue: [
{
'@type': '@builder.io/sdk:Element',
component: {
name: 'Text',
options: {
text: 'Section A Editable in Builder...',
},
},
responsiveStyles: {
large: {
display: 'flex',
flexDirection: 'column',
position: 'relative',
flexShrink: '0',
boxSizing: 'border-box',
marginTop: '20px',
lineHeight: 'normal',
height: 'auto',
textAlign: 'center',
},
},
},
],
},
{
name: 'sectionB',
type: 'blocks',
hideFromUI: true,
helperText: 'This is an editable region where you can drag and drop blocks.',
defaultValue: [
{
'@type': '@builder.io/sdk:Element',
component: {
name: 'Text',
options: {
text: 'Section B Editable in Builder...',
},
},
responsiveStyles: {
large: {
display: 'flex',
flexDirection: 'column',
position: 'relative',
flexShrink: '0',
boxSizing: 'border-box',
marginTop: '20px',
lineHeight: 'normal',
height: 'auto',
textAlign: 'center',
},
},
},
],
},
],
})(CustomThing);
```
## 传递数据和上下文
也可以通过 [数据](https://www.builder.io/c/docs/guides/connecting-api-data) 财务报告和审定财务报表 [函数](https://www.builder.io/c/docs/react/custom-actions) 下至用于UI的构建器组件(例如绑定) 数据值为UI, 例如, 用于文本值或列表上显示的值, 以及触发例如单击按钮的行动 )
所有通过的数据都可用Builder 提供 [行动和约束](https://www.builder.io/c/docs/guides/custom-code) 作为 `state.*`,例如以下例子 `state.resources`等将可用
```tsx
@Component({
selector: 'app-root',
template: '',
})
export class AppComponent {
options: any = {
cacheSeconds: 1,
data: {
locale: 'en-US',
},
};
data = {
resources: [ { foo: 'bar'} ]
};
context= {
myFunction: (text: string) => alert(text),
}
```
您也可以传递函数、自定义对象等复杂数据以及您可以使用的库 `context`。上下文会一直向下传递(例如通过符号等)。 此数据没有观察到变化和突变
背景情况见 [行动和约束](https://www.builder.io/c/docs/guides/custom-code) 作为 `context.*`,例如 `context.myFunction('hello world')` 实例
## 实例项目
完整的整合实例见 [这里](https://npmcn.com/examples/angular) 用于简单的 Angular + Builder.io 示例项目, 或者说 [这里](https://npmcn.com/examples/angular-universal) 用于角通用示例
## 常见问题
### @builder\.io/angular 是什么?
使用"构建器"Angular SDK来用"构建器"来使用"构建器"\. 您可以从浏览Builder的正式文件开始, 或者从右侧挖掘到这个目录中的代码 。 官方文件提供了更明确的指示,而这一R
### 如何安装 @builder\.io/angular?
在项目目录运行 npm install @builder\.io/angular,或使用 pnpm add / yarn add / bun add。它还需要宿主项目提供 peer 依赖:rxjs(\>= 2)、zone\.js(0\.14\.x)。npm 7 及以上与 pnpm 8 及以上默认会自动安装必需的 peer 依赖,Yarn 需要手动安装。
### @builder\.io/angular 支持 TypeScript 吗?
支持。包内自带 TypeScript 类型声明(package\.json 声明了 types 入口),安装后即可获得类型提示,无需再安装 @types 包。
### @builder\.io/angular 支持 ESM 还是 CommonJS?
同时提供 ES Module 与 CommonJS 入口,import 和 require\(\) 都可以使用,打包工具会自动选择合适的版本。
### @builder\.io/angular 可以商用吗?
@builder\.io/angular 使用 MIT 许可。宽松许可:允许商业使用、修改和再分发,通常只需在分发时保留原版权与许可声明。以上为概括,不构成法律意见,请以许可原文为准。
### @builder\.io/angular 的下载量有多少?
根据 npm 官方下载统计,@builder\.io/angular 在 2026/10/09 – 2026/11/07 这 30 天内被下载 18,866 次,日均约 629 次。下载量会把 CI 构建、镜像同步和作为其他包依赖的安装一并计入,适合横向比较热度,不能直接等同于使用人数。
### @builder\.io/angular 还在维护吗?
最新版本 5\.0\.2 发布于 2025/02/14(1\.7 年前);至今共发布 755 个版本,其中过去 12 个月发布了 0 个;首次发布于 2018/02/23。发布频率只是参考信号:功能稳定的工具可能很少需要更新,建议结合源码仓库的 issue 和提交记录判断。