:skull: Vue3-Skeleton
Build and craft amazing loading experiences that automatically adapts to your Vue app.
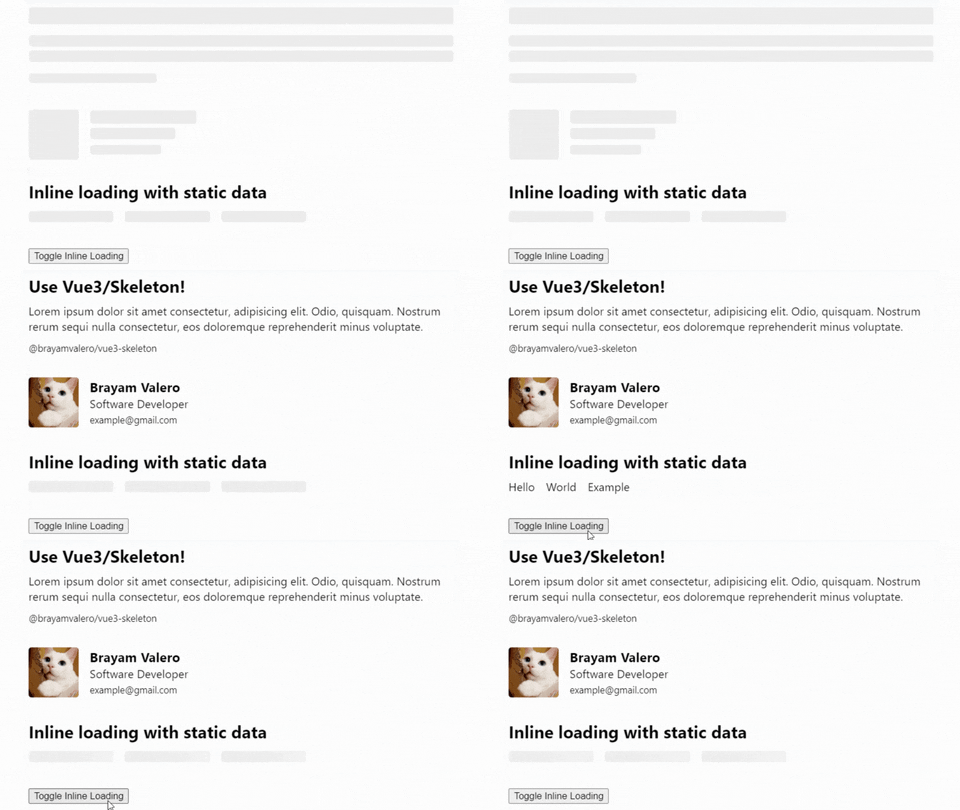
This repository is inspired by react-loading-skeleton
:rocket: Install
Install the package via NPM
npm i @brayamvalero/vue3-skeleton
:memo: Basic usage
Install the plugin globally.
import { createApp } from 'vue'
import App from './App.vue'
// Import the component library & Stylesheet
import Skeleton from '@brayamvalero/vue3-skeleton'
import '@brayamvalero/vue3-skeleton/dist/style.css'

createApp(App)
    // Install the Skeleton Plugin
    .use(Skeleton)
    .mount('#app')
Or, install the plugin locally, whether be <script> or <script setup>
<script>
    import { Skeleton } from '@brayamvalero/vue3-skeleton'
    import '@brayamvalero/vue3-skeleton/dist/style.css'

    export default {
        components: { Skeleton },
    }
</script>
<script setup>
    import { Skeleton } from '@brayamvalero/vue3-skeleton'
    import '@brayamvalero/vue3-skeleton/dist/style.css'
</script>
Now, you're ready to go
<template>
    <div class="Home">
        <h1>
            <!--Skeleton will inherit <h1> height -->
            <Skeleton />
        </h1>
        <p>
            <!--Skeleton will inherit <p> height -->
            <Skeleton :rows="3" />
        </p>
    </div>
</template>
:sparkles: Features
Adapting to your defined styles seamlessly, The <Skeleton /> module seamlessly integrates into your components,
filling the void during loading. Unlike other frameworks where crafting a skeleton screen is a meticulous task of
matching font size, line height, and margins, our Skeleton component effortlessly adjusts to the correct dimensions.
Take, for instance:
<template>
    <div class="Home">
        <h1>
            <Skeleton>{{ data.title }}</Skeleton>
        </h1>
        <p>
            <Skeleton :rows="3">{{ data.description }}</Skeleton>
        </p>
    </div>
</template>
This code snippet ensures the generation of precisely proportioned skeletons for both the <h1> and <p> elements
without needing any additional configuration. Moreover, it orchestrates a seamless transition, waiting until the content
is fully loaded before concealing the Skeleton and unveiling the loaded content gracefully.
Manual Loading
Use the loading prop to manually control the loading state of the skeleton.
<template>
    <div class="Home">
        <h1>
            <Skeleton :loading="loading">{{ data.title }}</Skeleton>
        </h1>
        <p>
            <Skeleton :loading="loading" :rows="3">{{ data.description }}</Skeleton>
        </p>
    </div>
</template>
:warning: Avoid the creation of dedicated skeleton screens
Instead, craft components equipped with integrated skeleton states.
This methodology offers several advantages:
- Harmonized Styles: Ensures consistency across styles.
- Comprehensive Representation: Components should embody all conceivable states, including loading.
- Enhanced Loading Flexibility: Enables more adaptable loading sequences.
:art: Theming
Customize individual skeletons with props, or render a SkeletonTheme to style all skeletons below it.
<script setup>
    import { Skeleton, SkeletonTheme } from '@brayamvalero/vue3-skeleton'
    import '@brayamvalero/vue3-skeleton/dist/style.css'
</script>

<template>
    <div class="Home">
        <!-- This applies Base Color and Highligh Color to all Skeletons -->
        <SkeletonTheme base-color="#303030" highlight-color="#606060">
            <h1>
                <Skeleton>{{ data.title }}</Skeleton>
            </h1>
            <p>
                <Skeleton :rows="3">{{ data.description }}</Skeleton>
            </p>
        </SkeletonTheme>
    </div>
</template>
Props declared inside
<Skeleton />will take priority over<SkeletonTheme />props.
:page_facing_up: Props Declaration
Down bellow you can take a look at each prop available.
<Skeleton>
| Name | Type | Description | Default |
|---|---|---|---|
| rows | number | Set component amount of rows | 1 |
| circle | boolean | Set component border-radius to 50%, it replaces borderRadius props | false |
| containerClass | string | Set component class to skeleton container | null |
| childClass | string | Set component class to each skeleton child | null |
| loading | boolean | Set component loading state | undefined |
<Skeleton> <SkeletonTheme>
| Name | Type | Description | Default |
|---|---|---|---|
| width | string number | Set component width, it can be either number px or string with its corresponding css value | 100% |
| height | string number | Set component height, it can be either number px or string with its corresponding css value | inherit |
| borderRadius | string number | Set component border-radius, it can be either number px or string with its corresponding css value | 0.25rem |
| baseColor | string | Set component background-color | #ebebeb |
| highlightColor | string | Set component background-image highlight color animation | #ebebeb |
| animationDuration | number | Set component animation-duration in seconds | #f5f5f5 |
| animationDirection | normal reverse | Set component animation direction normal (left to right) or reverse (right to left) | normal |
| enableAnimation | boolean | Set component animation status running or paused | true |
| inline | boolean | Set component inline behavior | false |
| customHighlightBackground | string | Override the background-image property of the highlight element, enabling you to fully customize the gradient. | undefined |
Custom Highlight Background
You may want to make the gradient used in the highlight element narrower or wider. To do this, you can set the customHighlightBackground prop. Here's an example of a narrow highlight:
<Skeleton custom-highlight-background="linear-gradient(90deg, #f0f0f0 25%, #e0e0e0 50%, #f0f0f0 75%)">
    Loading...
</Skeleton>
If you use this prop, the baseColor and highlightColor props are ignored, but you can still reference their corresponding CSS variables as shown in the above example.
Troubleshooting
The skeleton width is 0 when the parent has display: flex In the example below, the width of the skeleton will be 0:
<div :style="{ display: 'flex' }">
    <Skeleton :style="{ flex: 1 }" />
</div>
This happens because the skeleton has no intrinsic width. You can fix it by applying flex: 1 to the skeleton
container, you can also set this style via the containerClass prop.